
Time-Lapse is a technique which is used to capture change or movement which occurs over a long period of time.
To capture how a plant grows or a glacier moves, a photographer places a camera in a fixed location and takes a single picture at regular time intervals. When the individual photos are played backed in rapid sequential order, viewers can see the growth or movement of the object or process being photographed.
For instance, an image of a scene may be captured at 1 frame per second but then played back at 30 frames per second. The result is an apparent 30 times increase in speed. Also, film can be played back at a much slower motion than when it was captured, which slows down an otherwise fast action, such as slow motion or high-speed photography.
Processes which would generally appear subtle and slow to the human eye, like the movement of the sun and stars in the sky or the growth of a plant, become so clear. Time-lapse is the extreme version of the cinematography technique of under cranking.
The history of Time-Lapse photography
You might be surprised to know how early time-lapse photography was invented. In different forms, it actually dates back to the 1870s, when photographer Eadweard Muybridge captured a galloping horse.
With that, minds were blown and a new form of photography was born. After that, one of the first times the form was used in a feature film was by Georges Melies in his film, Carrefour De L’Opara, in 1897. As a pioneer of this technique, Smith used time-lapse photography to record natural events, and used this form for educational purposes, helping to illuminate the details of spectacles that occur in the natural world. This desire to record nature and natural phenomena was also furthered by the work of Jean Comandon and Path Freres, who were working as early as 1909.
Essential equipment for Time-lapse photography
Whilst the exact equipment you need will differ depending on the specific project you are working on, there are some general pieces of kit that are essential.
You don’t need to purchase expensive equipment to start time-lapse photography. You can start by using what you already have.
The basic requirements are a camera, an intervalometer, and a tripod.
You may also need post-processing software to edit your time-lapse footage.
So, let’s see what other equipments you will need:
An intervalometer distance meter
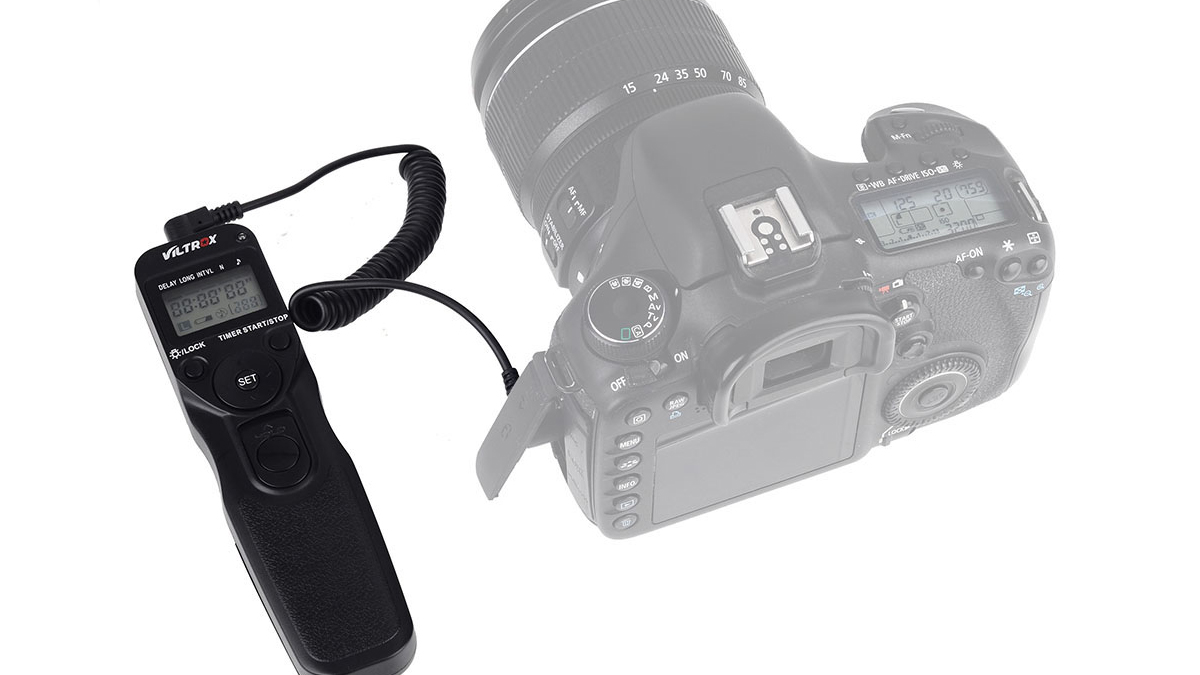
To trigger the camera shutter at a regular interval, you will need an intervalometer, also known as a controller.
This is another kit that beginners usually buy cheaply. Thereafter, it just triggers the shutter.
Many photographers make the mistake of thinking that since an intervalometer only triggers the camera to photograph at certain intervals, it doesn’t matter and that a cheap unit will do the trick. Buy a trusted brand that professional photographers trust, not a cheap no-brand. The initial cost savings are not worth it.
Tripod/ Clamp
The next important item you’ll need is a tripod or other type of stable mounting equipment, like a hi-hat for lower angles, or a stable enclosure for long time-lapses.
It’s crucial to have a well-built, solid tripod (or other supporting device) with solid locking mechanisms because you don’t want the camera to sag while shooting. Lighter, cheaper tripods will also sway in the wind, even though they are apparently stable on a solid, even surface. This is a special problem for time-lapse shots, as any movement over time will be exaggerated as the clips are sped up to final video speed in post-production.
To prevent the tripod from moving, plus a well-built tripod, it may be wise to bring something to weigh down the tripod itself, to prevent it from shaking or moving due to wind or other elements. Don’t skimp on your tripod, you’ll regret it. Besides, if you get a quality tripod, it will serve you well after replacing your current camera body.
ND filters
Neutral density filters reduce the amount of light hitting your sensor without changing the color. This enables you to use larger apertures, and longer exposures, and/or have good color in situations that otherwise might result in some sharp clipping. Variable DN filters are nice and versatile, nevertheless, be careful – they can impose their own artifacts into your images. It is better to have a couple of solid neutral density filters of varying strengths – a 3 and 6 would be a good place to begin. They can be stacked atop one another; thus, you would get 3 ND possible ND strength with these two filters. Or, you can only get a variable filter. Keep in mind that you don’t want to go cheap, and make sure you take good care of them; any defect in the filter shows itself in the picture.
An SD card
Since you will be capturing many photos, you definitely need a place for your camera to store them.
Most DSLR cameras use a standard SDHC (Secure Digital High Capacity) card. High-speed, high-capacity cards are a must for anyone serious about time-lapse. Particularly if you are shooting at a faster rate, the speed of the media can be a matter.
How to choose lenses for your time-lapse photography
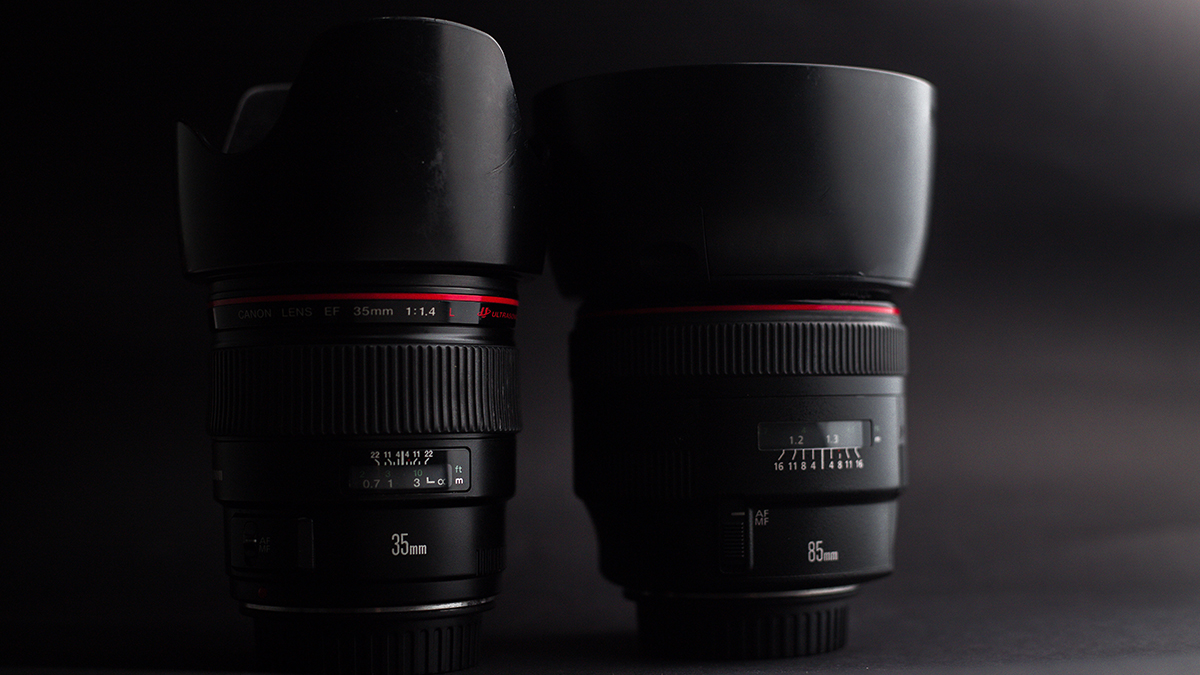
Let’s see how to actually choose the lenses you’d like to use. Here are some essential elements which should you consider:
Know your subject
When planning out your time-lapse photography, you need to think about the location you want to photograph, as well as what you want to capture there. Actually, composition is everything.
In deed, many of us like to visit shooting locations in advance to scope out the situation, and make notes of potential framing options ahead of time. Thus, you can test your lenses to see if they deliver the kind of photos you want.
Top tip
Rent a lens for your day of photography. Obviously, this is more expensive than using what you already have, but it can be a lot more reasonable than going out and buying a new $1,000+ lens every time you have a shoot idea. Just remember something!
The key here is to have a vision in place for your time-lapse video. The clearer the result is in your mind’s eye, the better it will be in the end.
Understand what makes a good time-lapse lens
Although any lens can work for time-lapse photography, certain lenses give you more freedom to tackle advanced shots and lighting situations. These lenses will be more flexible or powerful than others and can open up new photographing opportunities which would not be available to you otherwise.
For instance, a shallow lens, with a maximum aperture of f/1.8, will enable you to shoot stunning footage in very dark conditions. For example, this is important if you want to photograph a mountainside at night with the Milky Way rising from its peak. Try taking the same photos with a kit lens that just goes to f/3.5, and you aren’t probably to be as thrilled with the results.
However, when it comes to choosing a lens for time-lapse photography, it’s essential to know that after all, even a smartphone can capture stunning images and videos. You can get as deeply invested in this type of art as you want, and that’s one of our favorite things about photography in general.
The best camera for time-Lapse photography
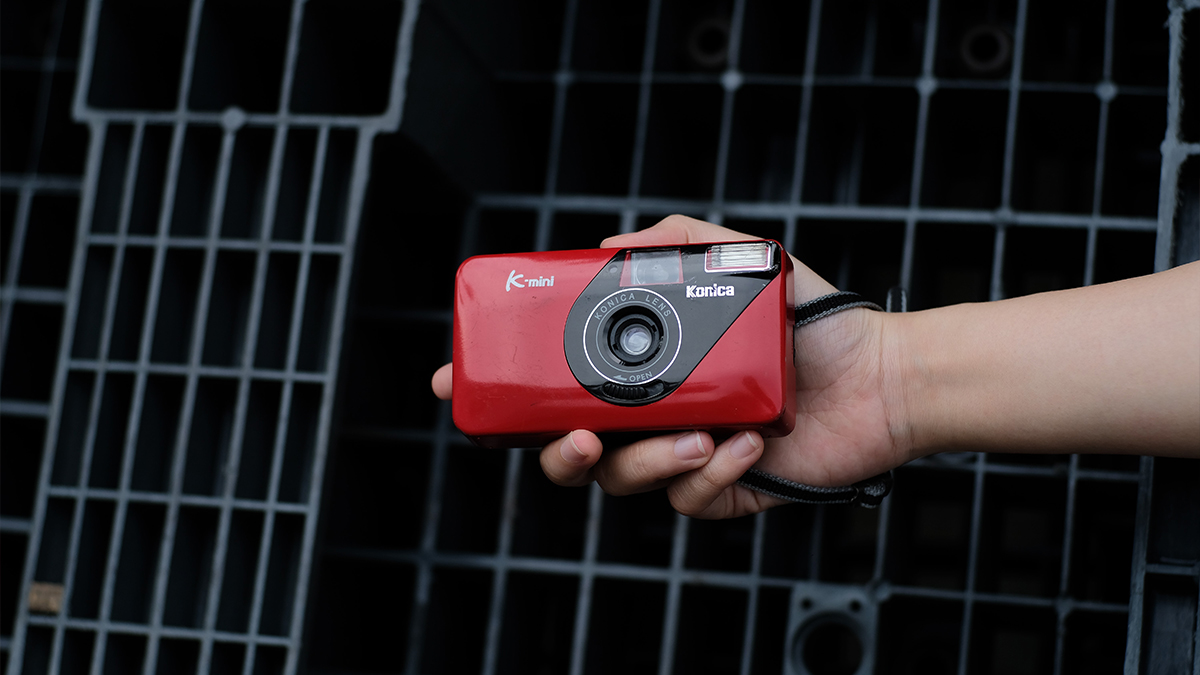
Actually, you don’t need to buy a special camera for time-lapse. You can use almost any device you own. Even smartphones now have this feature through apps.
Nevertheless, the type of camera you use can affect how you shoot. The most important factors are the resolution of the sensor and ISO performance when purchasing a time-lapse camera. Additionally, as some have a time-lapse feature built-in, others don’t have it at all.
Here are different cameras you can use for time-lapse photography:
DSLR
Some DSLR cameras do not have a time-lapse photo function. But many of them can record great quality video that you can use for time-lapse photography.
But if you have an old Canon 50D which has no video at all, then think about buying a Magic Lantern. This is open-source software which you can use to add new features to old cameras. You can use it to record videos on cameras such as the 50D. In addition, it has an intervalometer for photographing time-lapse.
Point and shoot
Most people have ‘point-and- shoot’ cameras rather than DSLRs. They are not only cheaper, but also easier to use. The downside is that you can just use them in fully automatic mode. And for the most part, they don’t have a time-lapse capability at all.
Nevertheless, some high-end models offer features you might just expect on DSLR cameras. Some even allow you to change the aperture and the shutter speed seamlessly.
The Sony RX100 MK VII is an excellent example. Its 5472 x 3648 pixel resolution alone rivals most DSLR cameras. As most high-end cameras, it has a manual mode and 4K recording! But most of all, it has an intervalometer for seamless time-lapses.
The only disadvantage is that the RX100 costs over a thousand dollars.
If you look for a cheaper choice, consider the Canon G5 X Mk II. It has the same specifications as the RX100, containing a 4K time-lapse feature. But its price is only about 800 dollars, that is much less than its Sony counterpart.
GoPro
GoPros were originally for young sporty types. Nevertheless, with new features, they currently interest professional photographers too.
Despite its small size, the GoPro can record time-lapses for a long time. It converts images into 4k time-lapse videos. Such a feature used to available just in high-end cameras.
The best feature of GoPro is that it allows you to change the frame rate. For example, you can use 12 frames per second to slow down the action in high-speed photos. So, even if you reduce the speed 4 times, the result still looks smooth.
In addition, GoPro Hero 8 is waterproof to a depth of 10 meters. That is to say, you can capture time-lapse photos underwater if you like.
Classic subjects of time-lapse photography
Throughout its history, time-lapse has been known to be applied to photograph all manner of subjects.
However, there are some subjects which are specially popular in their use:
Landscapes
Motions on land are perfect for time-lapse photography, as the effect of capturing a subject moving imperceptibly slowly can create a slow motion when put together in a sequence.
Due to this, time-lapse is effective when capturing celestial motion. Movement of the sky over a beautiful landscape is increasingly becoming a prominent trend for both professional and amateur time-lapse photographers.
The growth of plants and flowers
Arthur C. Pillsbury is credited with the initial use of time-lapse to record the movement of flowers between 1911 and 1912. Using a special camera, he recorded the movements of the 1,500 species of flowers in Yosemite, Northern California, throughout their life cycles.
Ultra-high definition time-lapse is often used in nature TV documentaries like this. Thanks to this technique, details that are normally invisible to the human eye are displayed in amazing detail.
Decay
Another popular element to photograph using time-lapse is that which happens at the end of an organism’s life cycle: decomposition.
Though decay can be an uneasy and difficult process, especially if it’s an animal, watching via time-lapse can provide scientific perception into the time scales of such things, in addition to appealing visual compositions.
