
Butterfly lighting is a type of portrait lighting technique used primarily in a studio setting. Its name comes from the butterfly-shaped shadow which forms under the nose because the light comes from above the camera. You may also hear it called ‘paramount lighting’ or ‘glamour lighting’.
Butterfly lighting is perfect for portrait photography. It is one of the most flattering lighting techniques for sculpting facial features.
Butterfly lighting is usually used in beauty shots and high-end portraits needing soft, flattering light like glamour or fashion photography.
History of butterfly lighting
Butterfly lighting dates back to some of the earliest glamor shots. In particular, Marlene Dietrich, the German silent film actress who became a Hollywood star in the 1930s, was presented in the film in such a way that gave this look its name.
She came to California with director Josef von Sternberg, who lit her in his films with what is famous currently as butterfly lighting.
He would place the major light above her, where a butterfly-shaped shadow would appear just below her nose. With this lighting, her cheekbones and facial structure became more noticeable.
Shortly, it became a Hollywood-must for lighting.
Equipments you need for Butterfly Lighting
Key light

The butterfly lighting pattern can be created with any light source: strobe, speedlight, continuous light, or sunlight. Controlling natural light is almost impossible, and changing the location and power of light is even more difficult.
Most butterfly lighting setups include some artificial light. One of thr preferred key light for studio portrait photography is Profoto B1 Monolight – it’s so easy to use and, it’s a high-quality light.
Modifier
When working with a flash, photographers usually add a modifier to help soften and diffuse the light. Modifiers vary in size and light distribution.
Some of the most common modifiers are a beauty dish, a softbox, or an umbrella. Some photographers like to use the Profoto beauty dish as a modifier to make the light softer and more appealing in photographs.
Trigger
Remember to get a set of good quality triggers for your flash. Choose triggers which are compatible with your flash unit to avoid problems during shooting.
Many times, off-brands can be a better value, but ultimately, they won’t work with your flash unit.
Stand
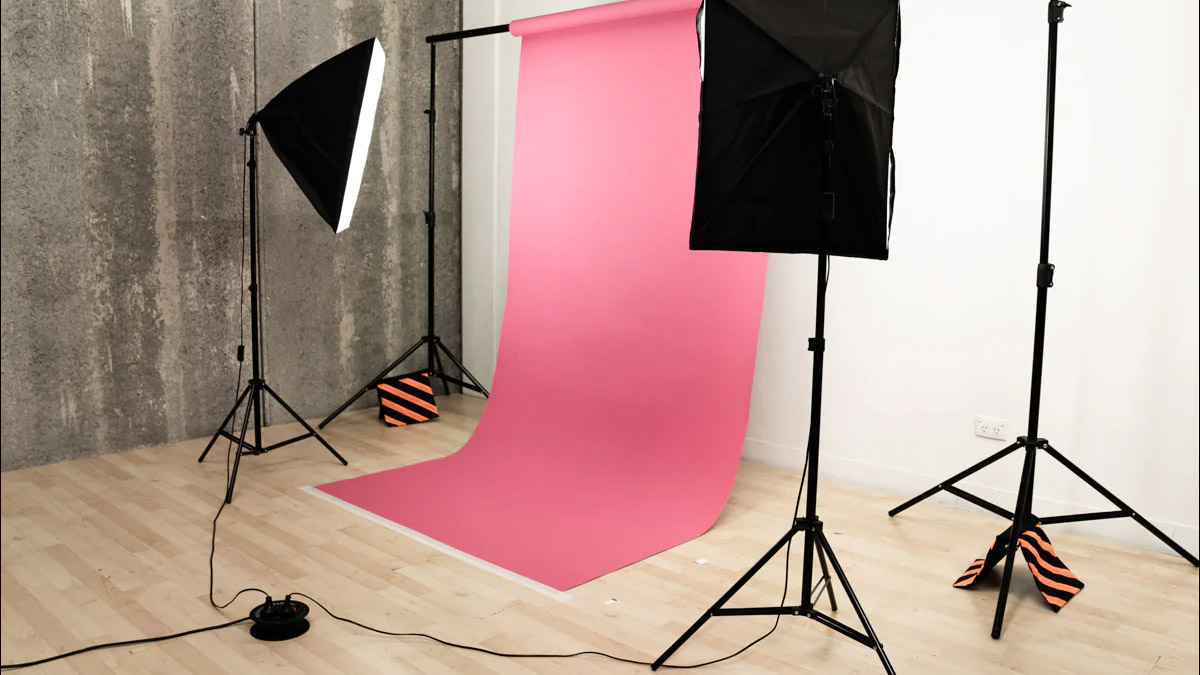
To make sure you can place your flash at the right angle for the butterfly lighting, you need to put it on a stand. Make sure it’s a sturdy base that won’t tip over easily. The stand must be strong enough to hold the flash and a modifier. Some photographers like to use Matthews heavy-duty stands because they are very sturdy and can be used for several purposes.
When looking for a perfect flash, remember that it must be compatible with your camera model. Besides, triggers must be compatible with the flash unit and camera model. This is crucial.
Reflector
After adjusting the key light and modifier, you will notice that there are strong shadows beneath the subject’s chin. A reflector, held under the model’s chin and angled toward the face, will soften this shadow and give your subject a beautiful glow. The closer your reflector is to the subject, the softer the shadows will be.
A reflector is a great tool for balancing light. It is recommended to look for a double-sided one, with a different finish on each side. Normally, one side is white and the other side is silver or gold metal. Sometimes, when photographers want to work with cooler or warmer tones, they work with the white and silver side of the reflector.
While shooting, you can ask the model to hold the reflector below the chin or at waist level. It is so lightweight, sometimes photographers hold it with one hand while photographing with the other.
One of the great advantages of using a reflector is the formation of beautiful spotlights in the model’s eyes. Be careful not to lower your subject’s chin too much, as this will lead them to miss the catchlights in the eyes.
Catchlights add a special feel to portraits, and you don’t like to lose that by placing your subject in the wrong way.
Camera and lens
You can use any DSLR or mirrorless camera for portraits with a butterfly lighting setup.
As for lenses, it is suggested to use any 50mm and above lens. If you choose a wider lens like 35mm, some distortion will appear.
Some photographers favorite portrait lenses for studio portraits are Canon 50mm 1.2 and Canon 85mm 1.2. Nevertheless, other photographers may like using the Canon 70-200mm 2.8 telephoto lens, as it produces the least amount of distortion.
If you’re going to use a telephoto lens, make sure the studio space enables you to step back and focus. In addition, It is a good idea to place the camera on a tripod at this point.
How to set up a butterfly lighting pattern
• First, place the model in front of the lighting stand. The light should be at a higher angle, and point down towards the subject’s face.
Then, using a tripod, place the camera directly under the light. If you’re going to shoot handheld, finish adjusting the lighting and then come back to place yourself under the light.
• Add a light modifier, depending on the type of light you want on your portrait. To achieve a soft light, you can put a beauty ring or a softbox on the flash. Otherwise, you can use a grid to generate a more controlled hard light.
• Measure the light intensity. Ideally, use an external meter – this will give a more accurate reading. You can also take some test shots and adjust the camera settings and flash intensity accordingly.
• Once you’ve set the keylight, it’s time to fill the shadows. You can use a reflector to reflect the light and soften the shadow under the chin and the shadow under the nose.
To achieve this, place the reflector under the subject’s face. Start at waist level and see how it looks. If the shadows are still strong, move it closer to the face and so on.
When should you use butterfly lighting?
Though it is used majorly with women, there’s no reason why you can’t use it with men.
The reason why we see it in photos of women more is that it is one of the most popular lighting patterns for beauty photography. Thus, most women’s magazine covers feature butterfly lighting.
Facial features under the influence of butterfly light
Apart from the butterfly shade, the most distinctive feature of the butterfly lighting pattern is the way it shaves the face, especially for those with high cheekbones and a defined jawline.
But it’s not just for features like models, butterfly lighting can be used to flatten faces as well:
• Double chins – For people who carry a bit of weight under their chin, it can be really slimming as it casts a shadow over that area.
• Uneven noses – Due to the direction of the light, noses that aren’t smooth and straight look better, because the irregularities are minimized as the light fills in bumps and dents.
Two features of the face that are not suitable for butterfly light are:
• Round faces – do not shoot well with butterfly lighting because it makes them look heavier. For round faces, it’s best to use Rembrandt, loop, or split lighting patterns to slim and define them. Moreover, there are always exceptions in photography, and the exception is round faces for butterfly lighting, babies and toddlers, it is perfect for emphasizing their cute little chubby cheeks. That, definitely is not what we want to do for adults.
• Deepest eyes – You have to be careful that the light is not so bright that you lose the catchlights in their eyes.
The difference between natural light and flash for butterfly lighting
The only difference between using natural light and an off-camera flash to create butterfly lighting is that it’s easier with flash. For the following reasons:
• You can not move the sun or a window the way you can turn off the camera flash. Instead, you need to position your subject.
• Due to the butterfly lighting position, using sunlight can be completely blinding to your subject, especially if their eyes are sensitive to light. To prevent squinting, they should either wear sunglasses or keep their eyes closed until you’re ready to shoot.
Controlling butterfly lighting shadows
If you aim to tone down the shadows so they’re not as dark, you can use a reflector under your subject’s chin at chest height to reflect the light.
Also, you can place a fill light (less bright than the main light) under the main light and angle it to your subject. This is named clamshell lighting, as the two lights are similar to the top and bottom shells of the clamshell. Then, you take a picture from between the two lights, in the “hinge” of the clamshell.
For a softer shade, you need to diffuse the light.
Final words
Butterfly lighting pattern is simple but attractive. When you’re still learning about lighting and different lighting setups, butterfly lighting is great to start with because it doesn’t require a lot of equipment.
The good thing is that you don’t need a studio to experiment with butterfly lighting. Bring your flash and reflector and start practicing.
